The best way to freeze an apple pie is to first bake it, let it cool completely, then wrap it tightly in plastic wrap and aluminum foil before placing it in the freezer. Freezing an apple pie allows you to enjoy the delicious treat at a later time without compromising its taste and quality.
It’s a great way to preserve the pie and have it ready for future enjoyment. Whether you want to save a homemade pie for a special occasion or you have extra pies, freezing them is an effective way to prevent waste and ensure you can enjoy the pie later on.
We’ll explore the best methods for freezing an apple pie to help you keep it fresh and delicious for as long as possible.
Choosing The Right Apples
- Honeycrisp
- Granny Smith
- Gala
- Firmness
- Sweetness
- Tartness
Credit: thefoodcharlatan.com
Preparing The Apple Filling
When making an apple pie, preparing the apple filling is a crucial step that can make all the difference in the end result. From properly peeling and slicing the apples to seasoning them just right, each aspect of preparing the apple filling contributes to a delicious pie that will be enjoyed by all who taste it.
Peeling And Slicing The Apples
Before you can begin preparing the filling for your apple pie, you need to peel and slice the apples to the perfect size. Start by peeling the apples, ensuring to remove all the skin and blemishes. Once peeled, proceed to slice the apples into uniform pieces, around 1/4 inch in thickness, to ensure they cook evenly in the pie.
Seasoning The Apple Slices
After the apples are sliced, it’s time to season them to enhance their natural flavor. In a bowl, combine the sliced apples with a mixture of sugar, cinnamon, nutmeg, and a pinch of salt. Toss the apple slices until they are evenly coated with the seasonings, ensuring that every slice is infused with the delicious flavors that will make your apple pie irresistible.
Creating The Perfect Pie Crust
When it comes to making a delicious apple pie, one of the key factors is creating the perfect pie crust. A flaky and buttery crust can elevate the taste of your pie and leave your guests wanting more. In this section, we will guide you through the steps of making and rolling out the crust to ensure that your apple pie turns out picture-perfect!
Ingredients You’ll Need:
Before you get started on making the pie crust, gather the following ingredients:
- All-purpose flour
- Unsalted butter
- Granulated sugar
- Cold water
- Salt
Steps To Make And Roll Out The Crust:
Follow these simple steps to achieve that perfect pie crust:
- In a mixing bowl, combine the all-purpose flour, salt, and granulated sugar.
- Cut the unsalted butter into small cubes and add it to the bowl.
- Using a pastry cutter or your fingertips, gently incorporate the butter into the flour mixture until it resembles coarse crumbs.
- Gradually add cold water, 1 tablespoon at a time, while using a fork to toss the mixture together. Stop adding water once the dough comes together and forms a ball.
- Divide the dough in half, form each half into a disc shape, and wrap them individually in plastic wrap. Refrigerate for at least 1 hour before rolling.
- Once chilled, take one disc of dough and place it on a floured surface. Using a rolling pin, roll it out into a circle that is slightly larger than the circumference of your pie dish.
- Gently transfer the rolled out crust onto your pie dish, ensuring it fits snugly.
- Trim any excess crust hanging over the edges of the dish and use it to patch up any cracks or tears.
- Repeat the same process with the second disc of dough for the top crust of your pie.
And there you have it – a perfectly made and rolled-out pie crust ready to be filled with your delicious apple pie filling. Remember to let the crust chill in the freezer for a few minutes before baking, as this will help to maintain its flakiness. With this foolproof crust recipe, your apple pie will be the star of the show!
Credit: feelgoodfoodie.net
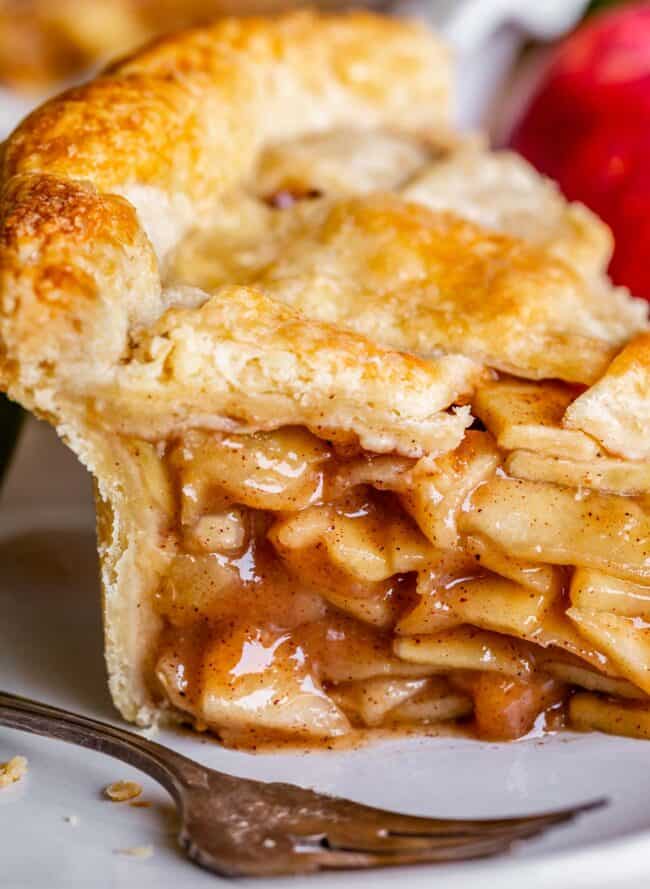
Assembling And Baking The Pie
To freeze an apple pie, assemble and bake the pie according to the recipe. Let it cool completely before placing it in a freezer-safe container. Seal tightly and label with the date. This method ensures the pie retains its fresh taste and texture when stored in the freezer.
Assembling and baking an apple pie is an art that requires attention to detail and a few essential tricks to ensure a delicious outcome. In this section, we will explore two crucial steps: layering the apple slices and tips for baking the pie to perfection. Follow these guidelines to create a beautiful and mouthwatering apple pie that will impress your family and friends.
Layering The Apple Slices
Layering the apple slices in your pie is not only about aesthetics but also about ensuring even distribution of flavors and textures. Here’s how you can achieve the perfect apple slice layering:
- Start by filling the bottom crust with a layer of thinly sliced apples. Place the slices neatly, slightly overlapping, to create a solid base.
- Sprinkle a mixture of sugar, cinnamon, and a pinch of salt over the first layer of apples. This will add a burst of sweetness and enhance the natural flavors.
- Repeat the process of layering the apples and sprinkling the sugar-cinnamon mixture until the pie is filled to the brim. Ensure that each layer is consistent in thickness and covers the entire pie evenly.
- Finish by dotting the top layer of apples with small pieces of butter. This will contribute to a rich and buttery crust.
Remember, the secret to a beautiful apple pie is the carefully arranged layers of apples, with each bite offering a delightful symphony of taste and texture.
Tips For Baking The Pie To Perfection
Baking the apple pie to perfection requires attention to temperature, timing, and a few essential tips. Keep the following guidelines in mind to ensure a golden and flaky crust:
- Preheat your oven to 425°F (220°C) while you assemble the pie. This will ensure that the oven is hot enough to create a crispy crust.
- Place the pie on a baking sheet lined with parchment paper to catch any potential spills or drips that may occur during baking. This will save you from a messy oven cleanup.
- Brush the top crust of the pie with an egg wash before baking. This will give the crust a beautiful golden color and a glossy finish.
- Cover the pie loosely with aluminum foil after the first 15 minutes of baking to prevent excessive browning. This will help the crust cook evenly without burning.
- Bake the pie for approximately 40-50 minutes until the crust turns golden brown and the filling is bubbly. Keep an eye on it to avoid overcooking.
- Once the pie is baked, allow it to cool on a wire rack for at least 2 hours before serving. This will allow the filling to set and the flavors to meld together.
Following these tips will ensure that your apple pie turns out beautifully golden, delectably flaky, and irresistibly delicious!
Letting The Pie Cool
One of the essential steps in properly freezing an apple pie is allowing it to cool. This crucial process ensures that the pie sets and maintains its structure. Let’s delve into the importance of allowing the pie to cool and the recommended cooling duration in detail.
Importance Of Allowing The Pie To Cool
Cooling the apple pie is vital as it allows the filling to set, preventing it from turning runny or mushy during the freezing process. Letting the pie cool also prevents the crust from becoming soggy, ensuring that the pie maintains its delightful texture when it’s eventually thawed and reheated.
How Long To Allow The Pie To Cool
The apple pie should be allowed to cool at room temperature for approximately 2 hours. This duration provides ample time for the pie’s consistency to stabilize, ensuring that it is suitable for freezing without compromising its quality. After cooling, it can be transferred to the freezer for long-term storage.
Credit: www.recipetineats.com
Wrapping And Freezing The Pie
For the best way to freeze an apple pie, wrap it tightly in plastic wrap, followed by foil to prevent freezer burn. Ensure the pie is completely cooled before freezing to maintain freshness. Label with the date and pie type for easy identification.
Materials For Wrapping The Pie
Protecting your apple pie properly before freezing is crucial to maintain its freshness and flavor. Here are the essential materials you will need:
- Plastic Wrap: Seal the pie tightly to prevent air exposure.
- Aluminum Foil: Provides an extra layer of protection against freezer burn.
- Freezer-Safe Ziploc Bags: Ideal for storing individual portions or smaller pies.
Proper Freezing Techniques
Follow these steps to ensure your apple pie freezes perfectly:
- Cooling: Allow the pie to cool completely before wrapping to prevent condensation.
- Wrapping: Cover the pie with plastic wrap and then aluminum foil to prevent freezer burn.
- Labeling: Mark the date of freezing and type of pie on the wrapping for easy identification.
- Storage: Place the wrapped pie in a freezer-safe Ziploc bag or airtight container to protect it.
- Freezing: Lay the pie flat in the freezer to avoid any damage to the crust or filling.
Thawing And Reheating
Thawing and Reheating: Properly handling the thawing and reheating process of your apple pie is crucial to maintain its delicious taste and texture. Below are the best practices to ensure your dessert turns out perfect.
Safe Thawing Methods
- Thawing apple pie in the refrigerator minimizes bacterial growth.
- Alternatively, you can thaw it in the oven, following the manufacturer’s guidelines.
- Avoid thawing at room temperature to prevent foodborne illnesses.
Best Practices For Reheating
- Preheat your oven to 350°F to ensure an even reheating process.
- Place the apple pie in the oven and cover it loosely with aluminum foil.
- Reheat for around 15-20 minutes, or until the pie is warm throughout.
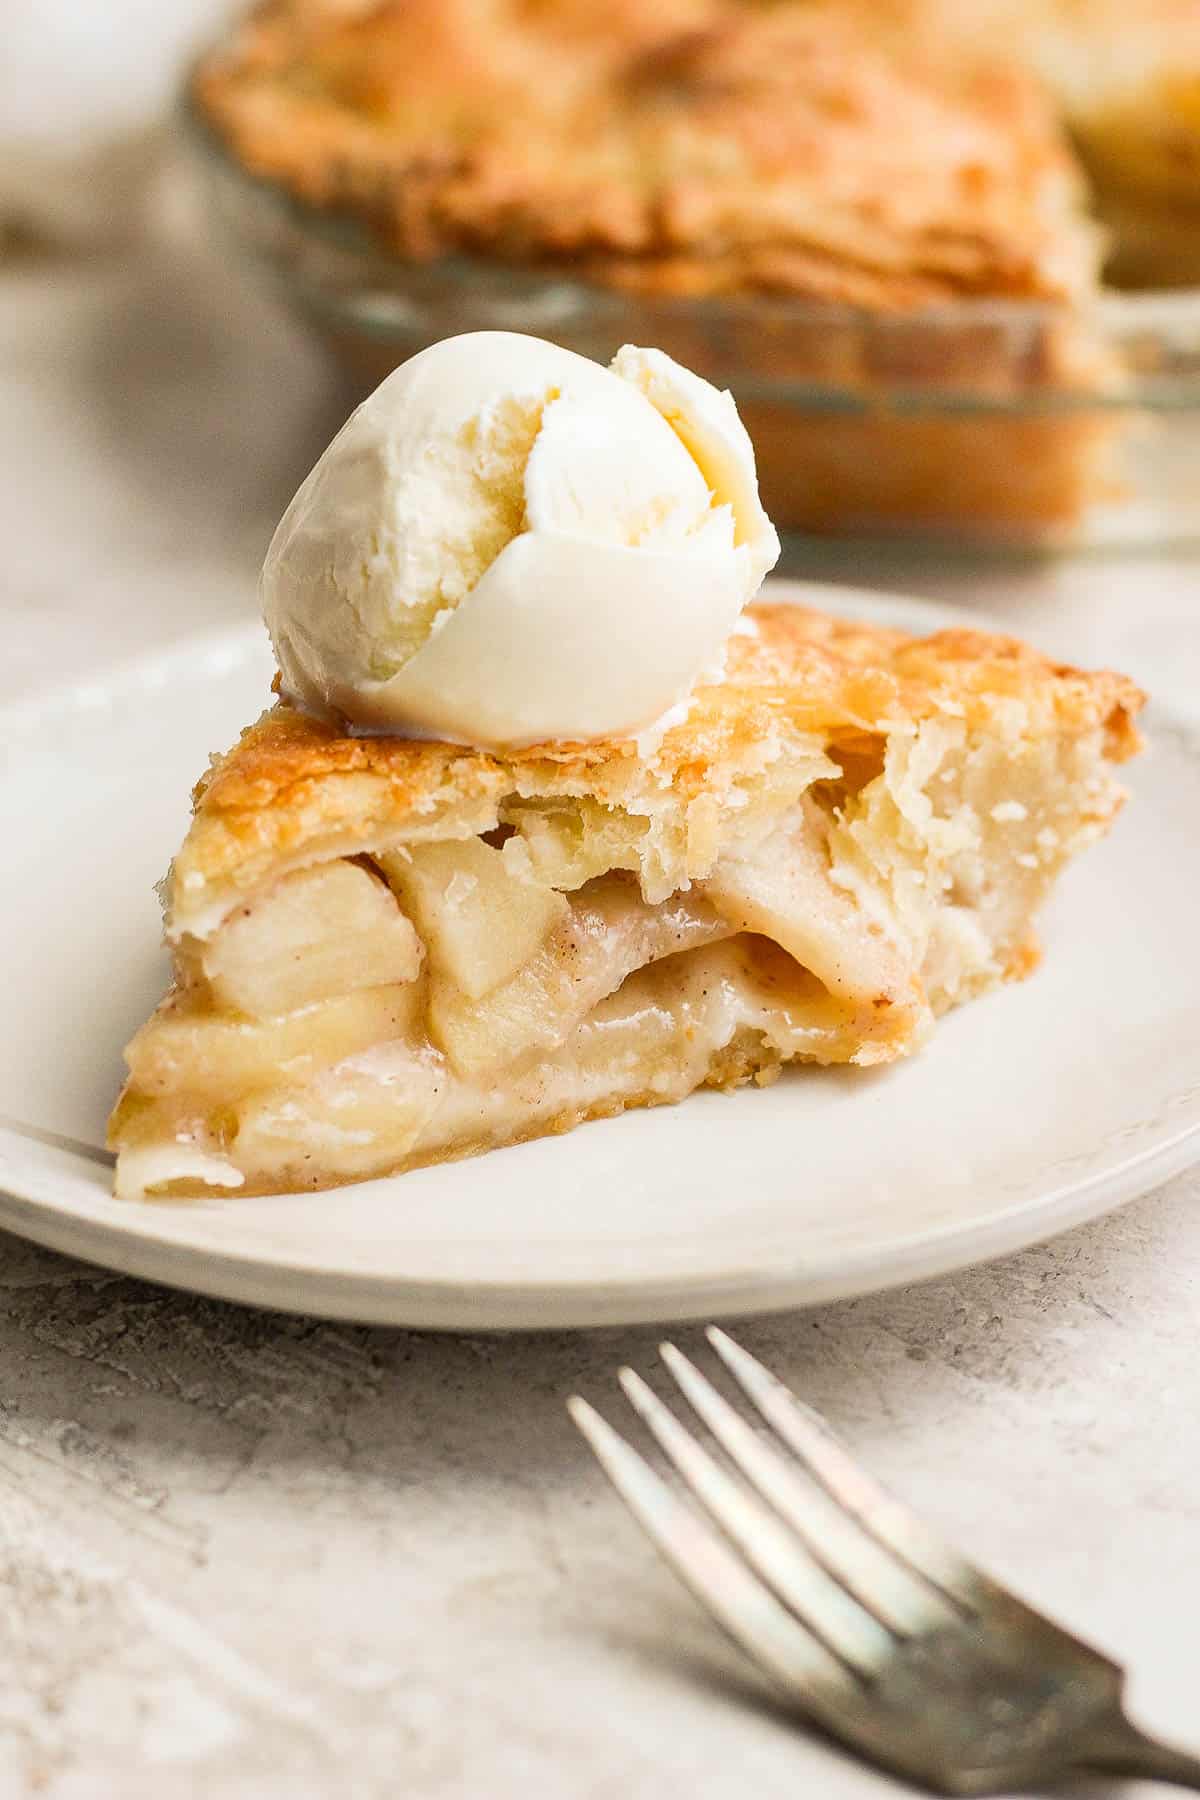
Enjoying Your Apple Pie
To preserve the deliciousness of your apple pie, freezing it is key. Follow these simple steps for the best way to freeze an apple pie and enjoy a freshly-baked taste anytime. Just wrap securely and store in the freezer for a convenient and tasty treat.
Serving Suggestions
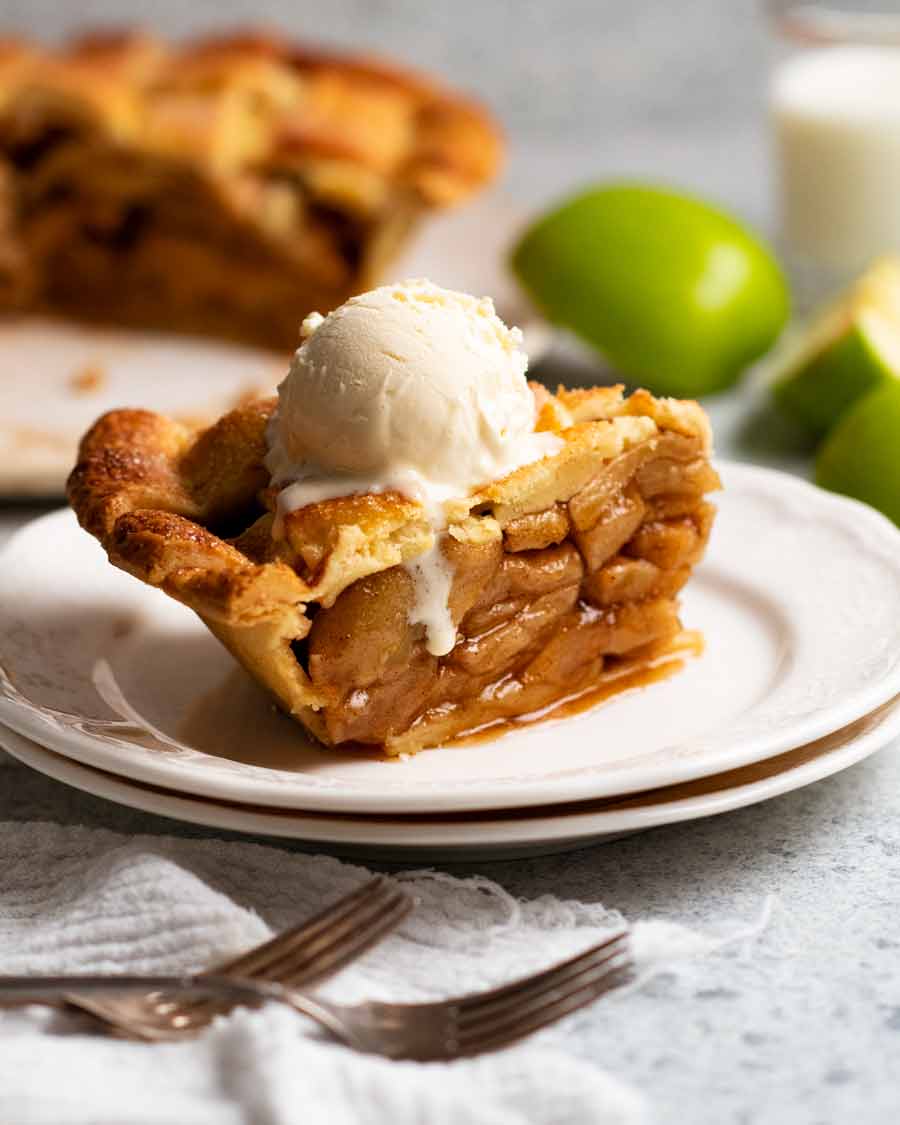
Now that you have successfully frozen and thawed your apple pie, it’s time to dig in and enjoy the deliciousness! Here are some serving suggestions to make your apple pie experience even more delightful:
- Serve the pie warm with a generous scoop of vanilla ice cream on top for a classic, comforting treat.
- Create a homemade caramel sauce or drizzle store-bought caramel sauce over the pie slices for a decadent twist.
- Sprinkle a dash of cinnamon or nutmeg over the pie before serving to enhance the flavors and add a touch of warmth.
- Add a dollop of whipped cream or a sprinkle of powdered sugar to give your apple pie an extra level of sweetness.
- Pair your apple pie with a cup of hot coffee or a glass of cold milk for the perfect complement to its rich taste.
Storing Leftover Pie
If you somehow manage to have leftovers, don’t worry! Here are some tips for properly storing your apple pie to ensure its freshness and taste:
- Allow the apple pie to cool to room temperature before storing to prevent condensation and a soggy crust.
- Wrap the pie tightly in plastic wrap or place it in an airtight container to keep it from drying out or absorbing any unwanted odors from the freezer.
- Label the container or wrap with the date of freezing to keep track of its freshness.
- Store the apple pie in the freezer for up to three months, but try to consume it within the first month for optimal taste.
- When ready to enjoy the leftover pie, allow it to thaw in the refrigerator overnight or at room temperature for a few hours.
- Reheat the pie in the oven at 350°F (175°C) for about 10-15 minutes to restore its warmth and crispness.
With these serving suggestions and storage tips, you can now make the most of your frozen apple pie, ensuring that every slice is enjoyed to the fullest!
Frequently Asked Questions For Best Way To Freeze An Apple Pie
Is It Better To Freeze Apple Pie Cooked Or Uncooked?
It is better to freeze an uncooked apple pie, as it will maintain its texture and taste better.
Can You Freeze A Whole Baked Apple Pie?
Yes, you can freeze a whole baked apple pie. Simply let it cool completely, wrap it tightly in plastic wrap, and then place it in a freezer-safe bag or container. When ready to eat, thaw it in the refrigerator overnight or reheat it in the oven.
How Do You Store Apple Pie In The Freezer?
To store apple pie in the freezer, first let it cool completely. Then wrap it tightly in aluminum foil or plastic wrap to prevent freezer burn. Place the wrapped pie in a freezer-safe bag or container, and label it with the date.
Freeze for up to 3 months.
What Is The Best Way To Freeze Apples For Pies?
The best way to freeze apples for pies is to peel, core, and slice the apples, then coat them in a mixture of lemon juice and water to prevent browning. Place them in a single layer on a baking sheet and freeze until solid, then transfer to a freezer-safe bag or container.
Conclusion
Freezing an apple pie is a simple and effective way to preserve its delicious taste. By following the right steps and using proper packaging, you can enjoy a freshly baked apple pie at any time. Whether you’re preparing for a special occasion or saving leftovers, freezing is the best way to ensure your apple pie stays fresh and tasty.